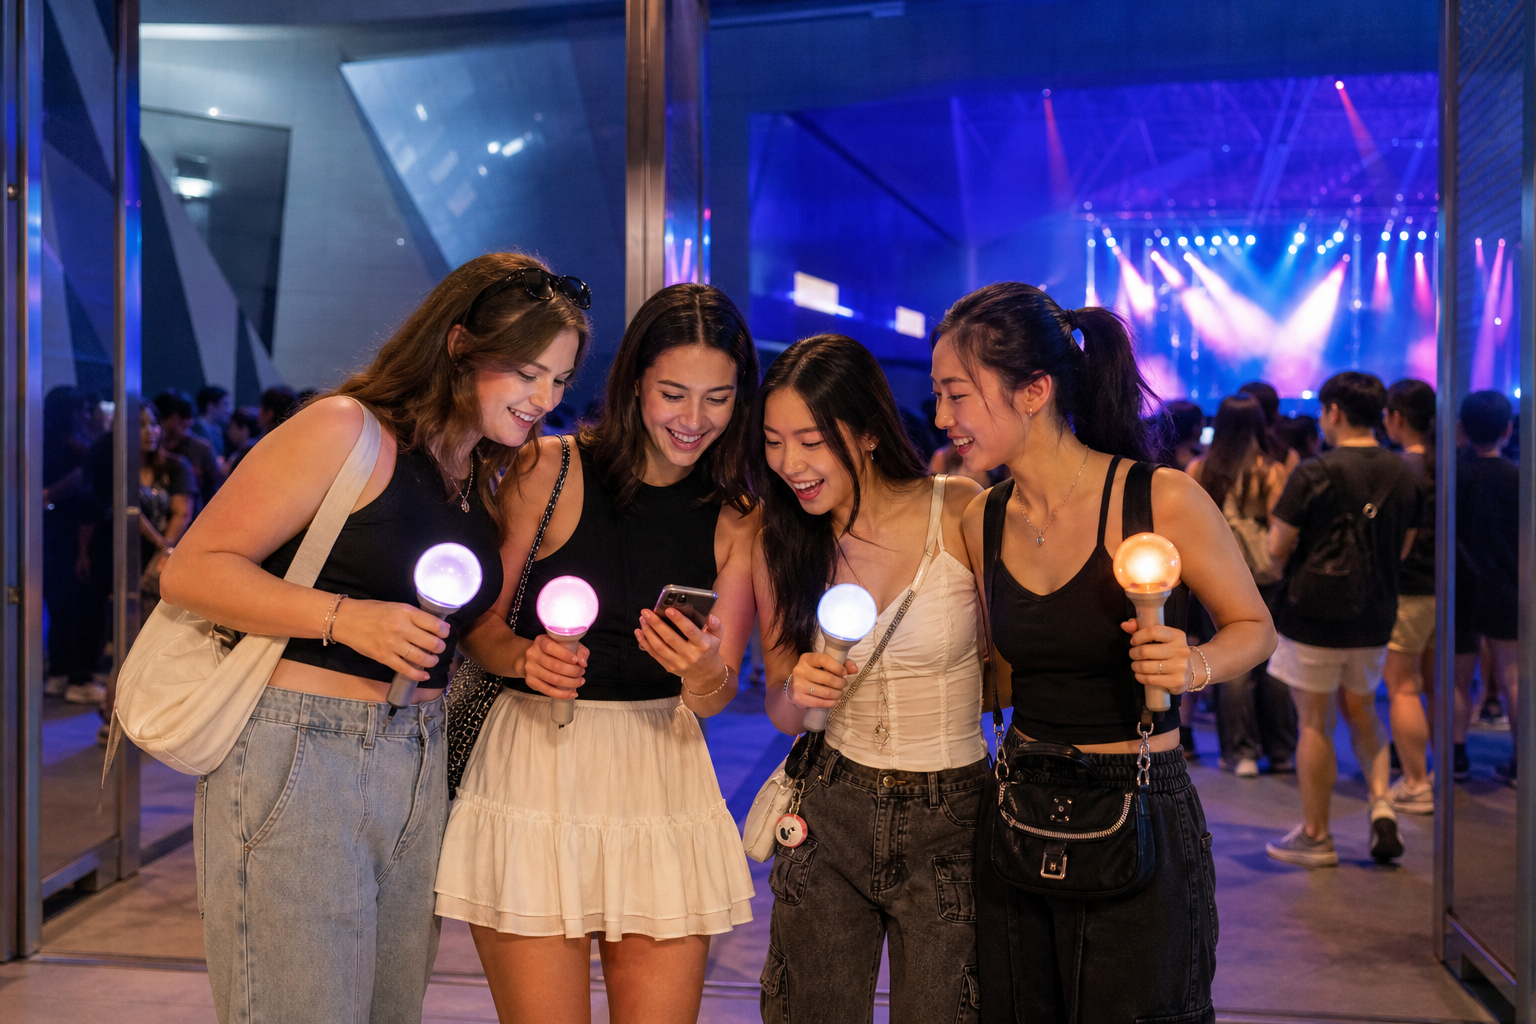
A Seoul concert can be the highlight of a Korea trip—but the hard part often happens before the first song. International fans may face passport-name verification, presales, venue pickup, mobile tickets, strict resale rules and a late-night trip home. This guide turns that process into a checklist.
Fact-checked: August 17, 2026. Every concert has its own organizer, ticket vendor, age limit, ID rules, filming policy and entry time. The performance detail page and official artist notice always override general advice.
The fast answer
- Follow the artist, promoter and venue’s official accounts—not repost accounts alone.
- Create the exact ticket-platform account named in the official notice.
- Enter your legal name exactly as the accepted passport or ID shows it.
- Complete any required identity or fan-club verification before the sale.
- Buy only through the officially designated seller.
- Save the full notice, booking confirmation and pickup instructions offline.
- Arrive early with the physical ID specified by the organizer.
- Plan the last train and a backup taxi before entering the venue.
Step 1: find the real concert announcement
 Original VEMORIQ media
Start with the artist’s official fan platform, agency, promoter or verified social account. A tour poster can announce a city without revealing the ticket vendor or sale rules. Wait for the Seoul-specific ticket notice before creating accounts or paying anyone.
- Confirm the exact date, venue and show time.
- Check whether the notice separates fan-club presale, general sale and additional seats.
- Identify the official ticket platform and whether a Global/English page is offered.
- Read age restrictions, wheelchair or accessible-seat procedures and companion rules.
- Look for a revision date; organizers often update the same notice.
Do not assume that a platform used for one tour will sell the next tour. Interpark/NOL Ticket, YES24 Ticket, Melon Ticket and fan platforms may all be used in Korea, but only the official concert notice tells you which seller is valid.
Step 2: make the account before ticket day
Create the account several days early. Use an email address you can access abroad and in Korea. Save the login, verify the email and test that your browser allows the required pop-ups or payment steps. If the platform offers a Global site, use the route specified for international buyers.
Name formatting is critical. Use the legal name in the order requested by the platform and match the passport or approved ID you will physically carry. Do not use a nickname, stage name, friend’s account or someone else’s payment identity unless the event notice explicitly allows it.
Interpark’s current global verification notice says some concert and musical products require passport-based identity verification before booking. Verification rules, validity periods and fees can change, so complete the process through the official site—not through a stranger who offers to “verify” an account.
Step 3: understand fan-club presale
A membership does not automatically create a ticket. A common sequence is: hold the correct membership, apply for presale on the fan platform, verify the membership on the ticket platform during a separate window, then join the presale at the announced time.
- Check the membership region: Global, Japan, USA or another version may have different eligibility.
- Match membership, ticket-platform and ID names exactly.
- Record application and verification deadlines in Korea Standard Time.
- Do not wait until ticket day to discover that membership verification was a separate step.
- Read the ticket limit; one membership may allow only one seat or one show.
Step 4: prepare for the sale without risky shortcuts
Log in early, confirm time-zone conversion and have one accepted payment method plus a legitimate backup. Use a stable connection and the supported device or browser listed by the vendor. Multiple windows, automated tools or repeated refreshes can trigger security systems; follow the platform instructions.
Decide your acceptable sections and budget before the queue opens. Seat color, restricted view, standing-zone number and sound-check access may matter more than being one row closer. Include booking fees, membership, transportation and merchandise in the real cost.
Step 5: treat resale as a high-risk area
Official concert notices frequently prohibit unauthorized resale, premium transfers or tickets purchased through unofficial channels. A transferred screenshot may be useless when the buyer’s name must match a passport. Fraudulent or illegally traded tickets can be canceled, and organizers may deny entry without refund.
- Never send passport scans or verification selfies to a private seller.
- Do not buy a ticket screenshot; official mobile-ticket codes may activate only near entry.
- Do not trust “guaranteed proxy” claims that contradict the event policy.
- Use an official resale or cancellation-ticket system only when the organizer names it.
- If you lose money, save the listing, messages, payment record and account details for reporting.
Mobile ticket or venue pickup?
Mobile ticket
Interpark’s official global mobile-ticket guide states that eligible mobile tickets can be opened through the booking email or My Page, and that screenshots cannot be used. The entry code may appear only when entry begins. Keep the phone charged, log in before reaching a crowded venue and carry a power bank that complies with venue rules.
Will call or on-site pickup
YES24’s current English FAQ says venue pickup generally requires the physical valid passport or accepted ID plus booking confirmation, but the individual show policy comes first. Some global Melon Ticket events also specify on-site pickup after identity verification. A representative may not be allowed to collect for you.
- Bring the physical ID type named in the notice, not only a photo.
- Print or download the booking confirmation.
- Find the global/foreign-ticket booth rather than joining the first queue you see.
- Arrive during the announced pickup window.
- Protect a paper ticket from loss or damage; replacement may be impossible.
A realistic concert-day timeline
 Original VEMORIQ media
- Morning: check organizer updates, weather, venue-bag rules and transportation disruptions.
- Four to five hours before: eat a normal meal, charge devices and travel toward the venue area.
- Three hours before: collect a ticket or preordered merchandise if required.
- Two hours before: finish official merchandise purchases, restroom and light-stick setup.
- One hour before: join the correct gate line with ticket and ID ready.
- After the show: follow staff exits, move away from the gate before checking messages and use the preplanned route home.
These are planning buffers, not universal opening times. Use the event’s published schedule when it differs.
What to bring—and what to leave at the hotel
- physical passport or other specifically accepted photo ID;
- mobile ticket or booking confirmation;
- charged phone and permitted compact power bank;
- small venue-compliant bag;
- payment card and modest emergency cash;
- water only if the venue permits it;
- medication in original or clearly identifiable packaging when appropriate;
- earplugs for hearing comfort.
Leave large luggage, professional cameras, selfie sticks, oversized banners and prohibited food or bottles at the hotel or a legitimate locker. Locker availability near a major show can disappear quickly.
Light sticks and merchandise
You do not need a light stick to belong at a concert. If you want one, buy through the official shop, official venue booth or another seller the agency recognizes. Counterfeit devices may not connect to the concert system and can raise trademark or safety concerns.
- Check the exact supported light-stick version.
- Install any official app and update firmware before leaving the hotel.
- Bring the specified batteries separately if venue rules require it.
- Pair seat information only through the official process.
- Keep lights and slogans at chest or shoulder level so they do not block another fan.
Filming, cheering and fan etiquette
Do not assume that phones are allowed because clips appear online. A current Weverse/YG concert-etiquette notice prohibits unauthorized filming and audio recording and warns against professional cameras and selfie sticks. Restrictions differ by show and may allow only announced photo moments.
- Stay in the assigned seat or standing zone.
- Keep aisles clear and do not push toward the stage.
- Do not throw objects.
- Follow staff calmly during safety instructions.
- Do not wait along private artist routes or follow vehicles after the show.
- Respect nearby fans’ view, space and consent before posting identifiable images.
Plan the last train before the first song
 Original VEMORIQ media
Large arenas release thousands of people at once. Save the Korean and English venue address, station name, exit and transfer route before entering. Check the final feasible train—not only the time the station closes—and allow for a slow exit from your seat.
- Save a route to the hotel and a second route using a nearby station or bus stop.
- Screenshot the Korean hotel address for a taxi.
- Set a maximum taxi budget and use a recognized dispatch method.
- Meet friends at a fixed landmark away from the main gate if separated.
- Do not accept an unofficial ride from someone approaching the crowd.
Continue your K-culture trip
Use VEMORIQ’s K-pop and movie locations guide for a low-pressure fan day before the show. For a post-concert food plan, compare styles in the Korean chicken brand guide or try our Tteokbokki (Topokki) guide after you return home.
Official ticketing and safety references
- NOL World Ticket official site
- YES24 Ticket English FAQ
- YES24 Ticket English performance listings
- Weverse: official concert etiquette and safety example
VEMORIQ tip: The passport name, the official notice and the route home matter more than the perfect concert outfit. Solve those three first.
Community Talk & Local Updates
Visited this place? Share your latest experience with fellow travelers!
The WordPress comment form will appear here. Please keep updates factual, respectful and free of personal medical information.
SAVE THIS CONCERT-DAY PLAN · CHECKED SEPTEMBER 2, 2026
Your ticket is booked—what should you do next?
Quick answer: Open the exact performance detail page again, confirm the ticket holder’s legal name, accepted physical ID, ticket format, pickup or activation instructions, entry time and venue rules. A rule from another artist, another date or even another show at the same venue does not replace your own organizer notice.
Which ticket-delivery instruction applies to you?
Activate only in the official app or account
Check whether the QR code appears immediately or only close to the show. Charge the phone, keep network access and follow rules on screenshots or transfers. A copied QR image may not work and may expose the ticket to theft.
The purchaser normally collects it
YES24’s global FAQ says will-call pickup requires the physical valid passport and booking confirmation, and the ticket holder normally must collect it. The individual show page takes priority, so confirm its accepted ID and booth hours.
Track the address and deadline
Overseas delivery availability varies by performance. Check the address, customs-name format and whether a delivery-method change is still allowed. Never assume the box office can reissue a lost shipment.
The four-name check that prevents the worst surprise
- Fan membership name used for presale eligibility.
- Ticket-platform account name used during booking or verification.
- Ticket-holder name printed or stored with the reservation.
- Physical ID name on the accepted, unexpired passport or residence card.
These fields do not always use the same name order or spacing, but they must satisfy the event’s matching rule. Do not “correct” a mismatch through an unofficial seller. Contact the official platform before the show; an organizer can refuse pickup or entry when identity cannot be verified.
Questions visitors ask before saving this guide
Do foreign fans need a physical passport at a K-pop concert?
Many events require the original physical passport or another specifically accepted, unexpired ID for ticket pickup or entry. A passport photo or photocopy may be rejected. Follow the exact performance notice.
What if my ticket account name does not match my passport?
Contact the official ticket platform before the show. Do not rely on an unofficial seller or assume staff can change it at the venue; a mismatch can prevent pickup or entry.
Does fan-club membership automatically give me a presale ticket?
No. Membership may only make you eligible. Many events require a separate presale application and ticket-platform verification during fixed windows before the actual sale.
Can a friend collect my K-pop concert ticket for me?
Often not. YES24 states that will-call tickets normally must be collected by the ticket holder, while each performance can set its own policy. Check the detailed event page.
Is a resale screenshot safe to buy?
No. A screenshot can be copied, canceled or rejected when the ticket holder name must match physical ID. Use only an official resale or transfer method explicitly authorized for that performance.
How should I plan the last train after a Seoul concert?
Save the venue exit, station entrance, last useful connection and a legitimate taxi backup before entering. Crowd controls and encore timing can make the trip to the platform longer than a normal map estimate.
Leave a Reply